 MUSE
MUSE
Toy Photography for GCC Collectors: How to Shoot Your Designer Toys Like a Pro
You’ve spent months tracking down a figure, found it a spot on your shelf, and now it just sits there looking great in person — but the photos you post of it look flat, washed out, and nothing like the real thing. Most collectors assume you need a camera and a studio to fix this. You don’t. A phone, a window, and a bit of patience will get you shots that make your friends ask where you bought it. Here’s how to photograph your designer toys and vinyl plush the way the pros do, tailored for the light and lifestyle of collectors across the GCC.
Find soft light before anything else
Lighting is the single biggest difference between a throwaway photo and one people save. The goal is soft, even light, and the easiest way to get it in Dubai or Riyadh is to shoot next to a large window during the day.
- Pull a sheer curtain over the window to diffuse harsh direct sun.
- Shoot in the morning or late afternoon — midday sun in the Gulf is strong enough to blow out highlights.
- Never use your phone’s flash; it flattens texture and leaves ugly hotspots on glossy vinyl.
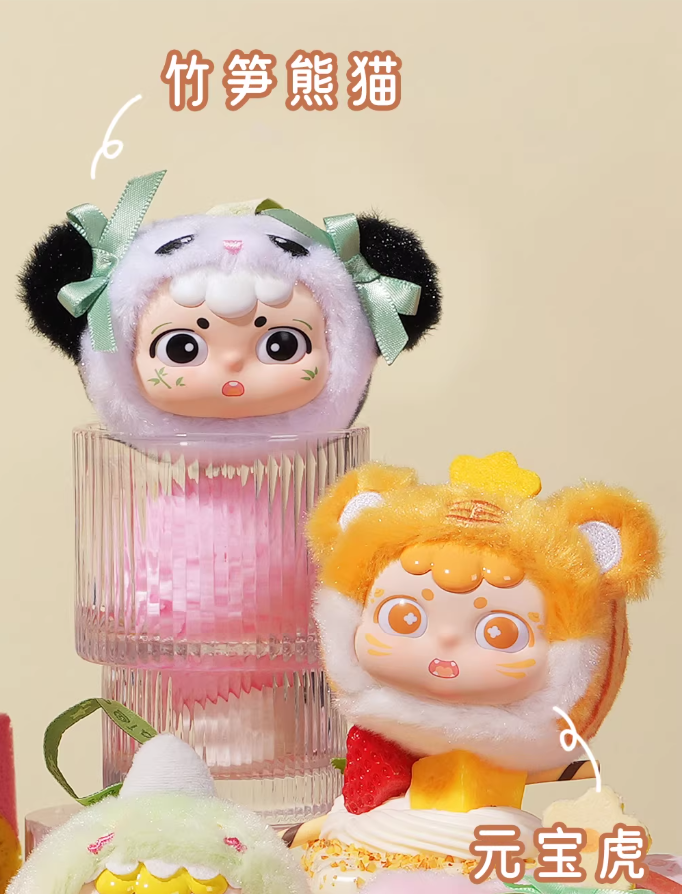
If you want more control, add a second “light” on the opposite side with a piece of white paper or foam board. It bounces light back into the shadows and lifts the details on pieces like Dumia Forest Galaxy Tales or the soft face of SHUYA Cream Puff Bunny.
Keep the background simple
A busy background competes with your figure. The cleanest approach is a neutral surface — a white wall, a piece of craft paper, or even a plain desk.
- White and warm grey work for almost every toy.
- Add a single accent colour only if it echoes something in the figure itself.
- Sweep a sheet of paper from wall to table to create a seamless backdrop with no corner line.
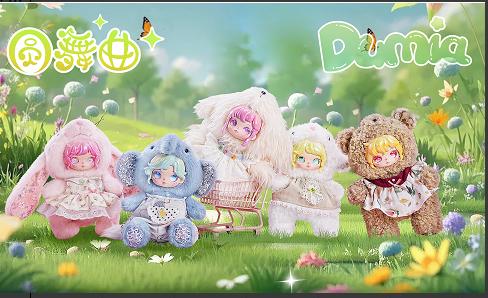
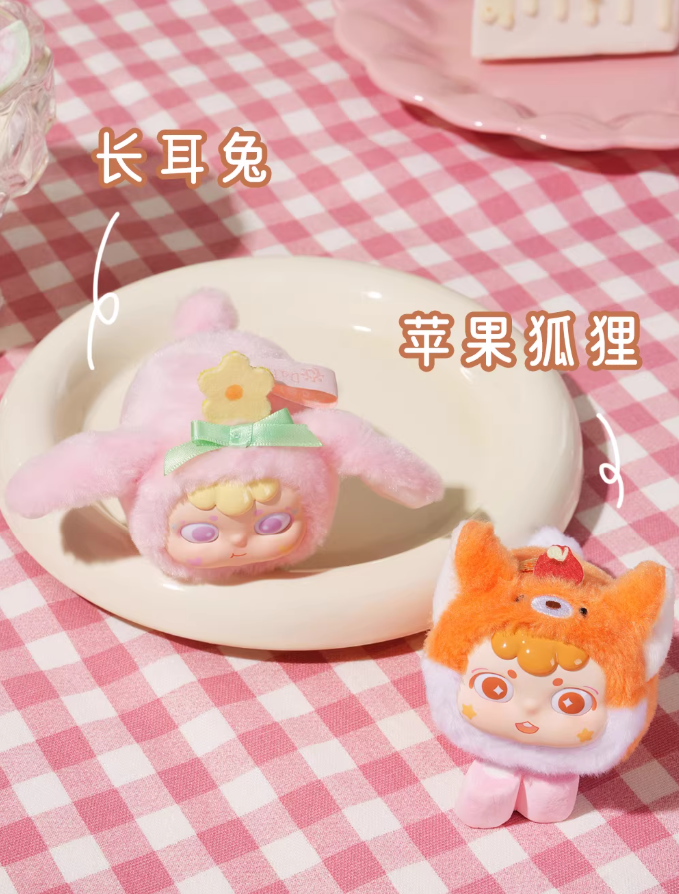
This is where Dumia Fairyland Grove and Aria Snow Whisper shine — their softer palettes read beautifully against a clean background, which is exactly the look that performs well on a collector’s grid.
Shoot from the toy’s eye level
The fastest way to make a photo look amateurish is to shoot downward from your own standing height. That angle is how we see toys on shelves, and it makes them feel small and unimportant.
- Lower the camera until the lens is level with the figure’s face.
- For smaller pieces, place the toy on a stack of books so you don’t have to crouch.
- Keep a little breathing room around the subject instead of filling the frame edge to edge.
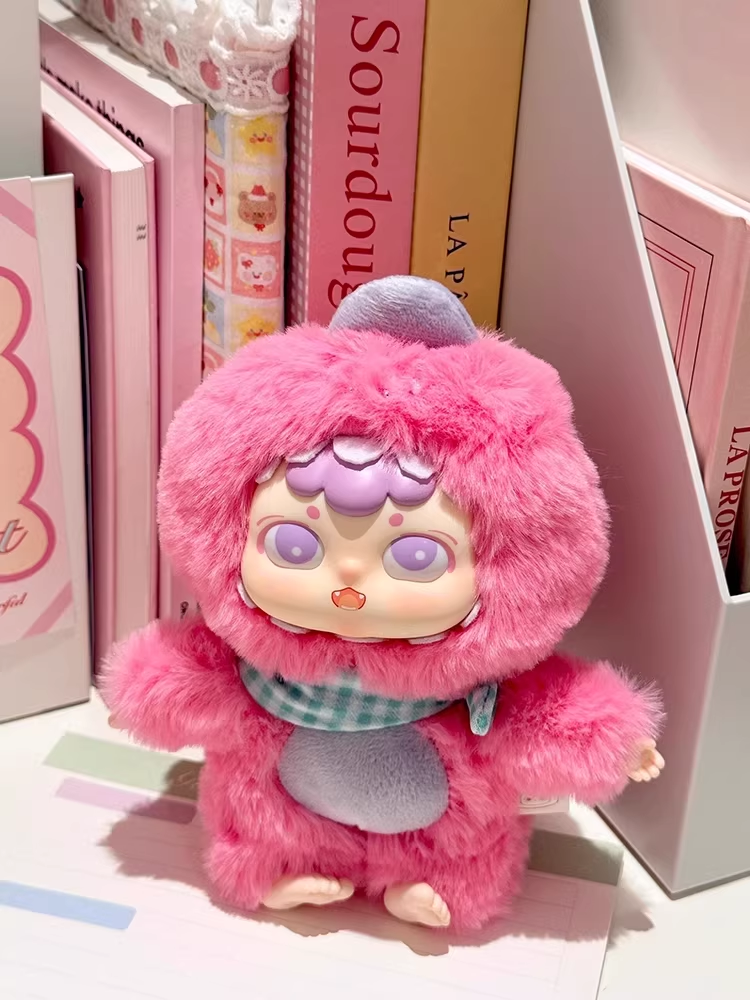
Eye-level shots make characters like Shining Cardsprites Cloud Elf or Dreamy Utopia feel like they have presence, as if you’re meeting them rather than looking down at them.
Use the phone camera like a tool, not a point-and-shoot
You don’t need a manual camera, but you should stop relying on auto-everything. Two settings will change your results.
- Tap the screen to lock focus and exposure on the toy’s face, then drag the exposure slider down slightly so whites don’t clip.
- Shoot in the highest resolution your phone allows, and if it has a 2x telephoto lens, use that instead of pinching to zoom — it compresses the image more naturally.
Portrait mode can be tempting, but on shiny vinyl it often mistakes the toy’s edges for background and blurs the wrong parts. Take one normal shot and one portrait shot, then keep the better one.
Style a small scene for storytelling
Once your technical shots look clean, the fun begins: build a tiny set. You don’t need props from a hobby shop — a piece of fabric, a mat, a book, or a plant leaf gives the figure a world to live in.
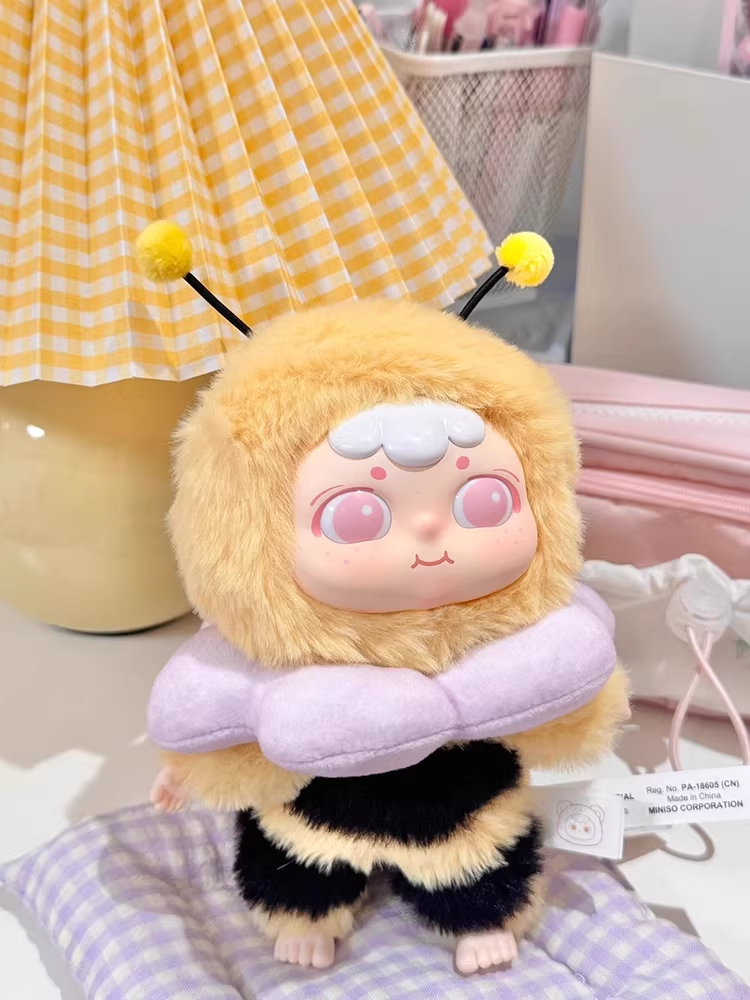
- Dumia Whispers of Heartbeat looks great with warm, low-angle light and soft bedding textures.
- Dumia Food Talk charms hanging from a hook, a shelf edge, or even a bag strap, and works as a quick lifestyle shot.
- Layering two or three figures with slightly different heights creates a group story rather than a lineup.
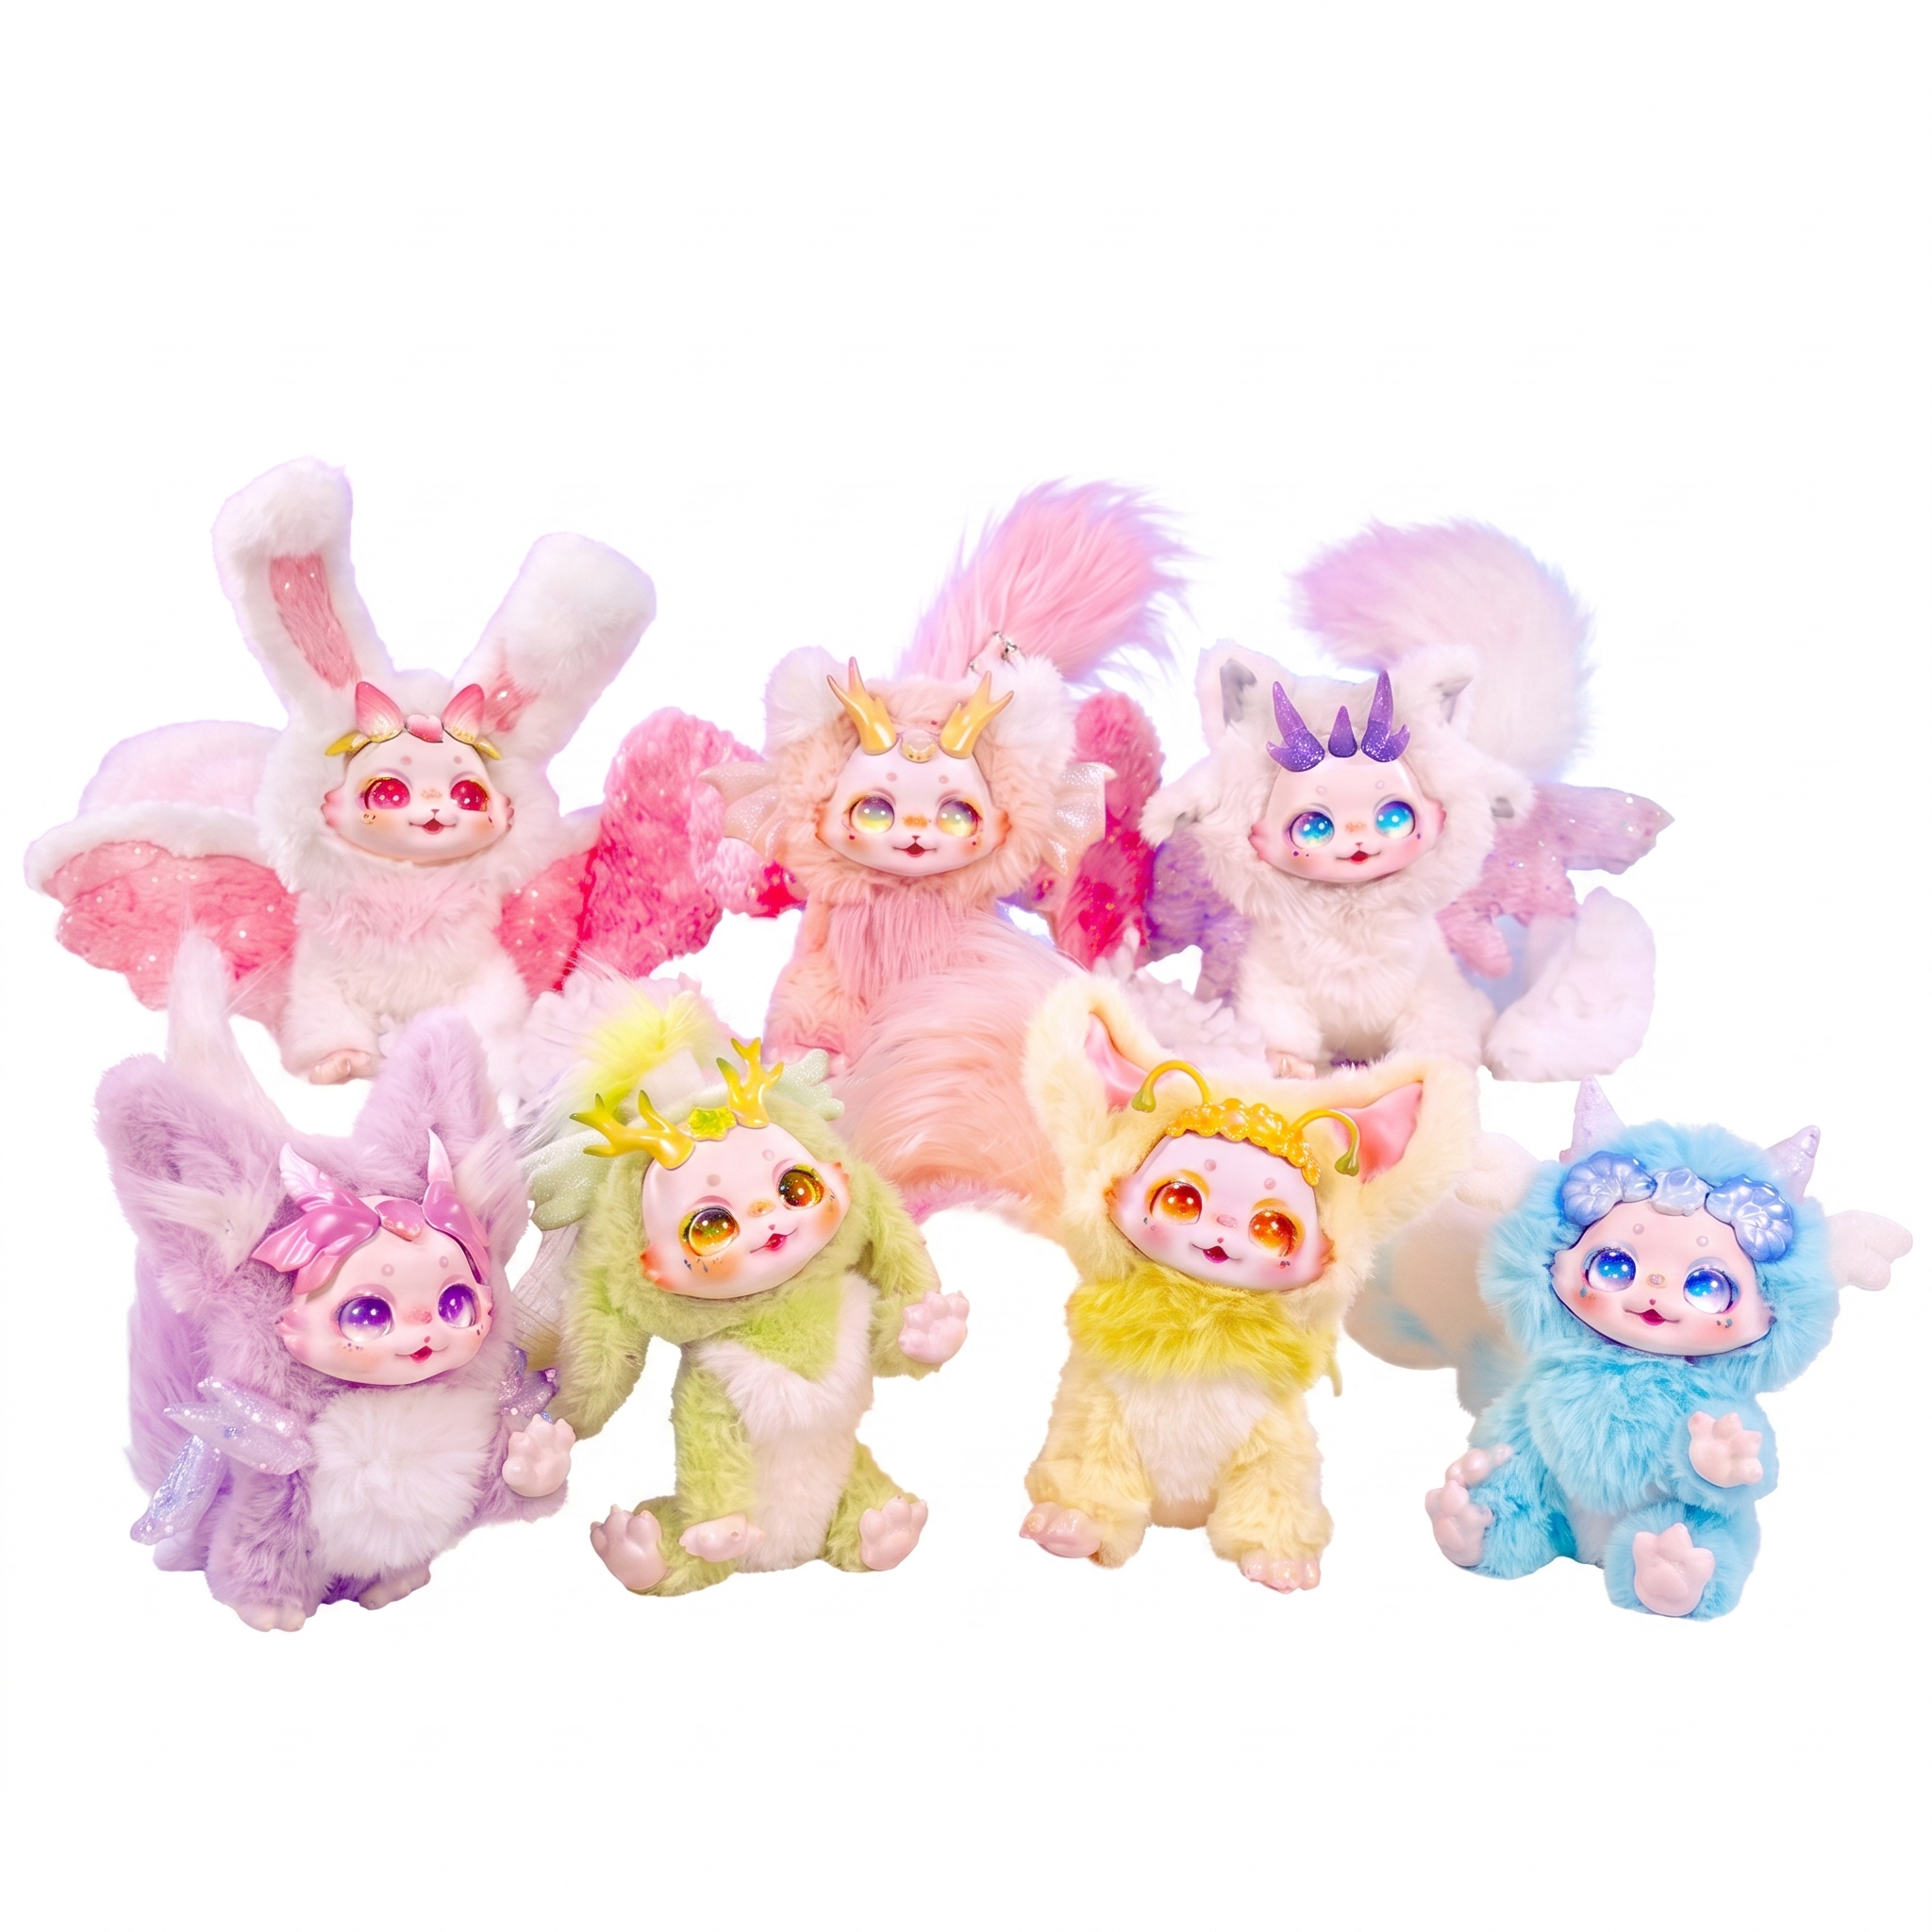
The key is restraint: two or three props maximum, so the toy stays the subject.
Edit lightly and consistently
Great toy photos are edited, not filtered into oblivion. Consistency matters more than drama, because a cohesive grid signals a serious collector.
- Nudge exposure up and highlights down a touch.
- Warm the white balance slightly for vinyl plush, which can look cold straight from the camera.
- Keep the same crop ratio across your posts so the grid feels intentional.
Avoid heavy presets that tint skin tones or make colours unrecognisable — collectors want to see the actual piece, and your followers will notice if the toy in your hand looks nothing like the post.
Make it part of your collecting routine
Photography isn’t a separate hobby from collecting; it’s the part where you show the collection off. If you’re still building your shelf or figuring out how to arrange everything, our guide to styling designer toys at home is a natural next read, and if you’re newer to the scene, this look at GCC collecting communities will help you find your people.
The habit that pays off is simple: when you unbox something new, spend ten minutes shooting it in good light before it goes on the shelf. Your future posts will thank you, and your collection will finally look as good online as it does in person.
Ready to grow a collection worth photographing? Contact via WhatsApp and we’ll help you find pieces that deserve a place on your shelf — and on your grid.
Get in Touch